What’s new? We have added new custom fields on transactions and enabled you to filter this custom fields option through Transaction list grid. You can find it under the name Custom fields (Payments) when entering new transaction and it will be visible on Payment receipt and Payment confirmation documents, depending on payment method you choose.
Benefits? Until now, you were able to create custom fields on Advanced Payment Invoice through New transaction window. We made it possible to create custom fields on all payment documents through the same window and therefore added more options for you. You can customize this custom fields option like any other in the system. Moreover, you can filter these custom fields from Transaction list grid.
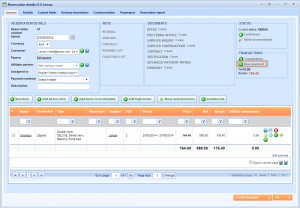
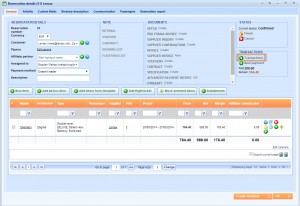
How? Open Reservation details window and click ![]() New payment button.
New payment button.
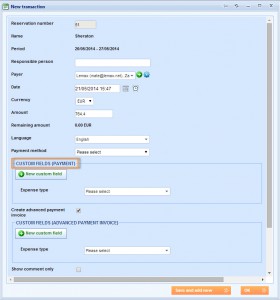
Locate Custom fields (Payment) and click New custom field to create a new one.
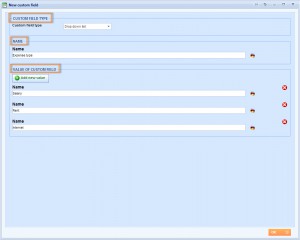
When New custom field window appears, enter details that you need.
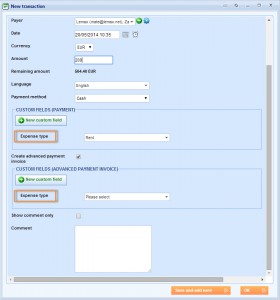
Custom fields that you add this way, will be applicable on all documents. That is why you will see this custom field below Custom fields (Advanced payment invoice) too.
Enter all necessary information of transaction and save the change.
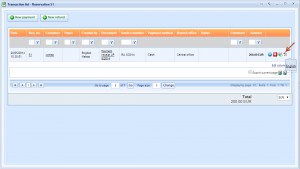
Click ![]() Transactions button to open Transaction list of this reservation.
Transactions button to open Transaction list of this reservation.
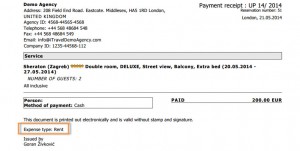
Open Payment receipt document.
You will see the custom field written on the document.
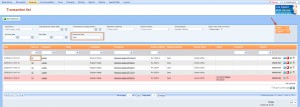
Go to Finances > Transaction list and locate Custom fields you created. Click on the Filter button and you will find transactions with this parameter.

