What’s new? We added some improvements on branch offices. You can now customize your branch office information such as: branch office data, contact information, email address (mailbox), logo etc. If the option is selected, this info can be displayed on documents instead of the agency’s info.
Benefits? Numerous. This system upgrade gives you the option of personalizing branch office information such as emails, bank accounts, contact data, logo, notification email, signature, etc. Accordingly, you can generate documents that contain this information and send emails with default branch office setup.
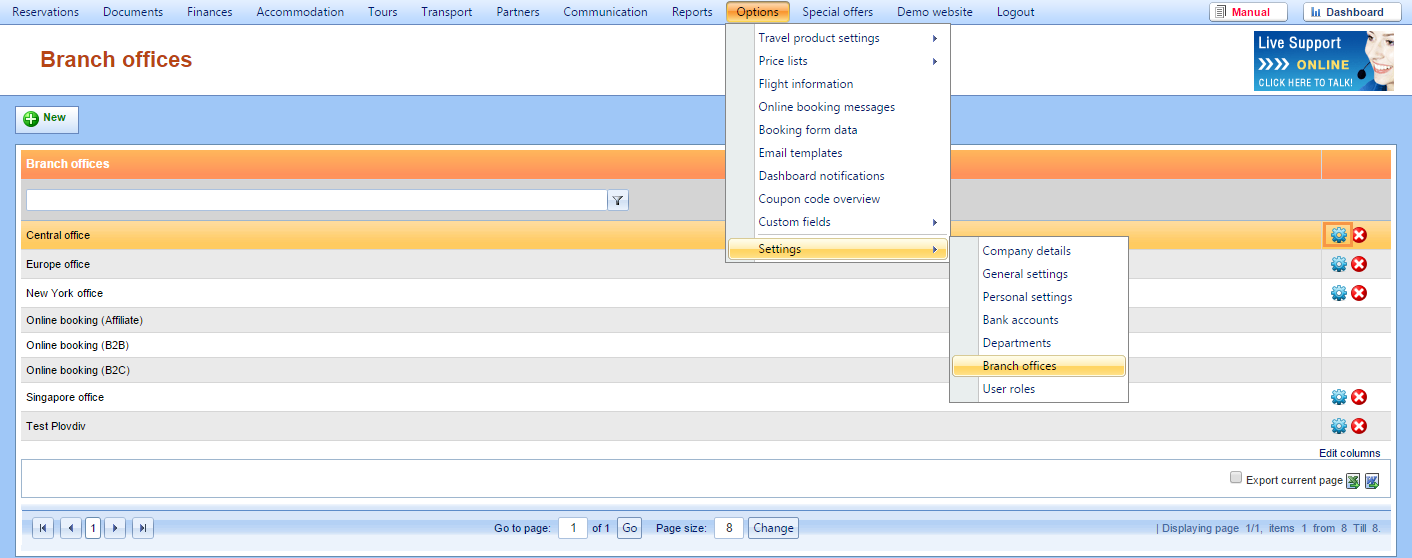
How? Open Options → Settings → Branch offices in order to find the new options. Click the Edit icon next to one of the branch offices.
The first part is placed in the General field. Here you can enter info such as Name (branch office name), Legal name (name that will appear on the documents), Branch office ID, Company ID, VAT ID, Email (email account of that specific branch office, NOTE: If it’s not defined here, the email address from Settings will be used), Web site, Working hours, Time zone (branch office time zone) and Override agency data check box (if checked, the data from this branch office will override the agency data). Furthermore, in the Bank account field, users can define default bank accounts for the branch office. Next – Contact data that will be used on documents and in emails.
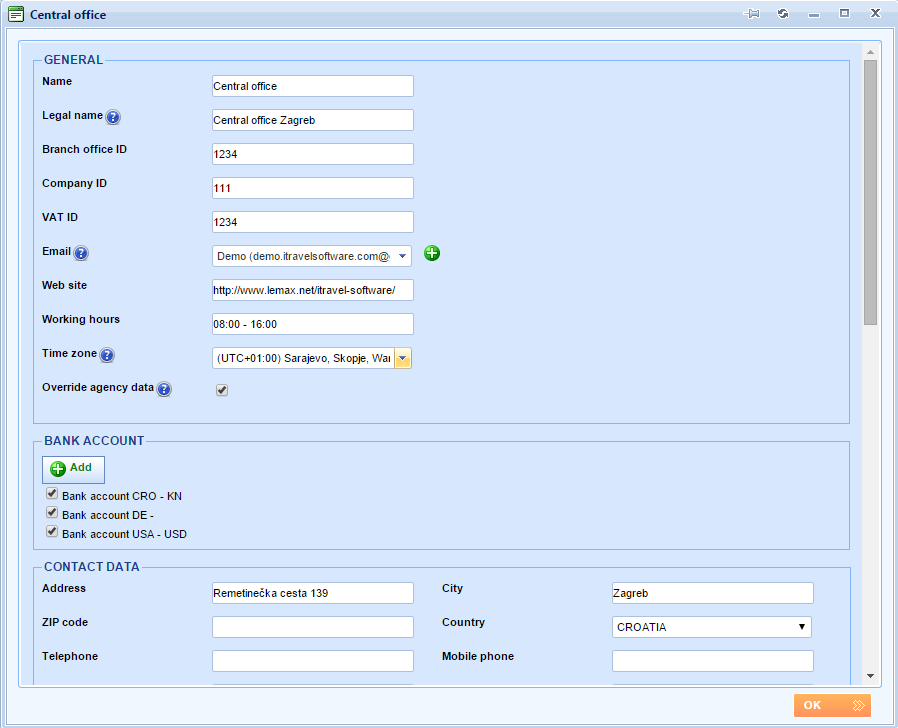
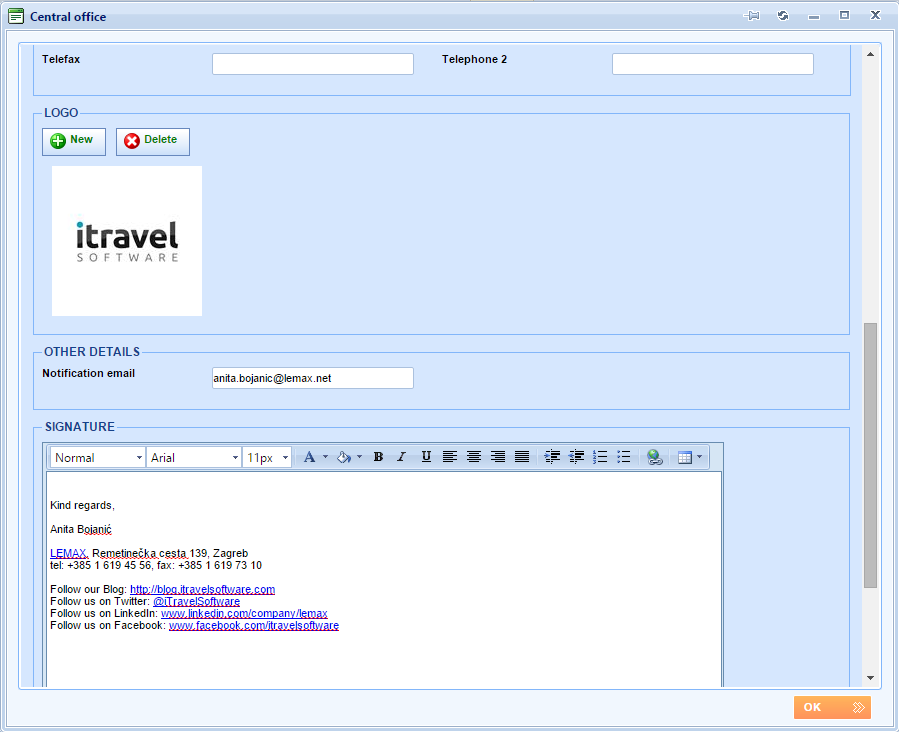
The Logo field allows you to attach a branch office logo that you want to display on documents instead of the agency logo. Other details, or more precisely Notification email, serves for setting up email addresses that will receive all notifications relevant to this branch office. NOTE: This will probably be the email address of the branch office manager.
The last field we can find here is Signature that, if inputted, it will appear as the default signature in all emails coming from this branch office (unless the user that writes the email has their own signature saved).
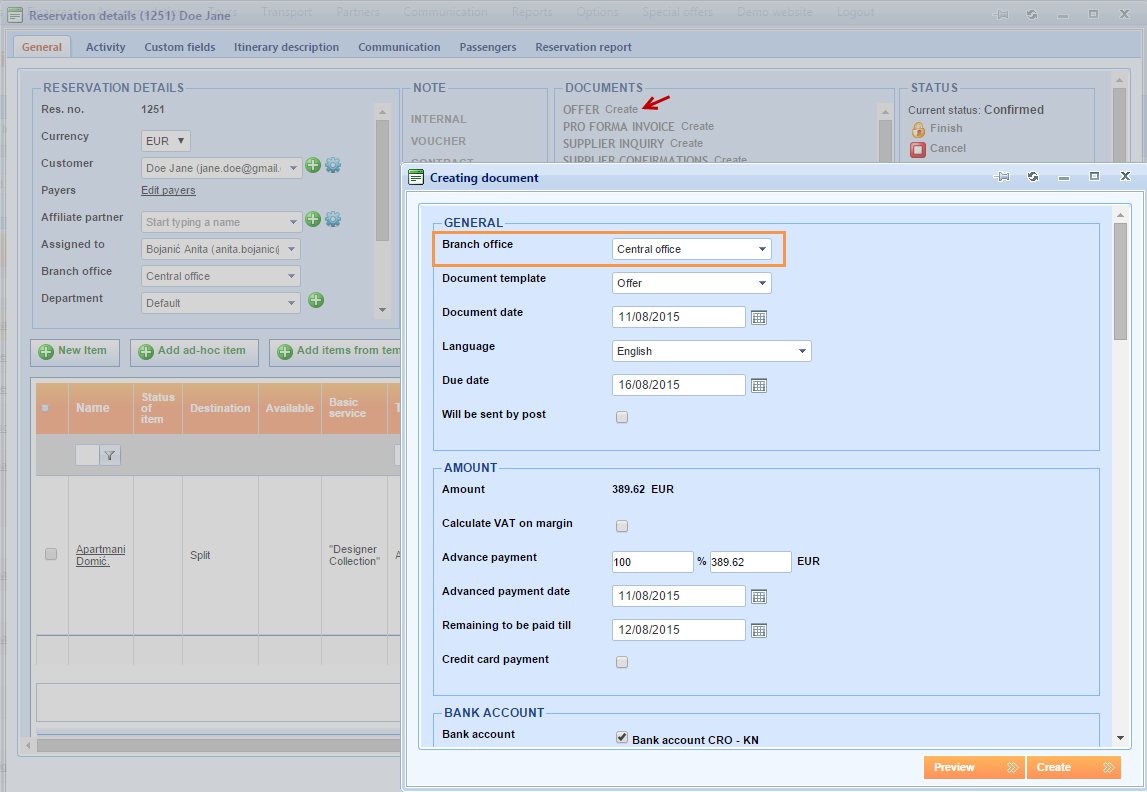
We can make a new reservation to show you how this information will appear on documents. Let us book one item and click on Create next to the Offer document. Before creating a document, let us check if a Branch office was selected, if not, let us select the one from the previous example.
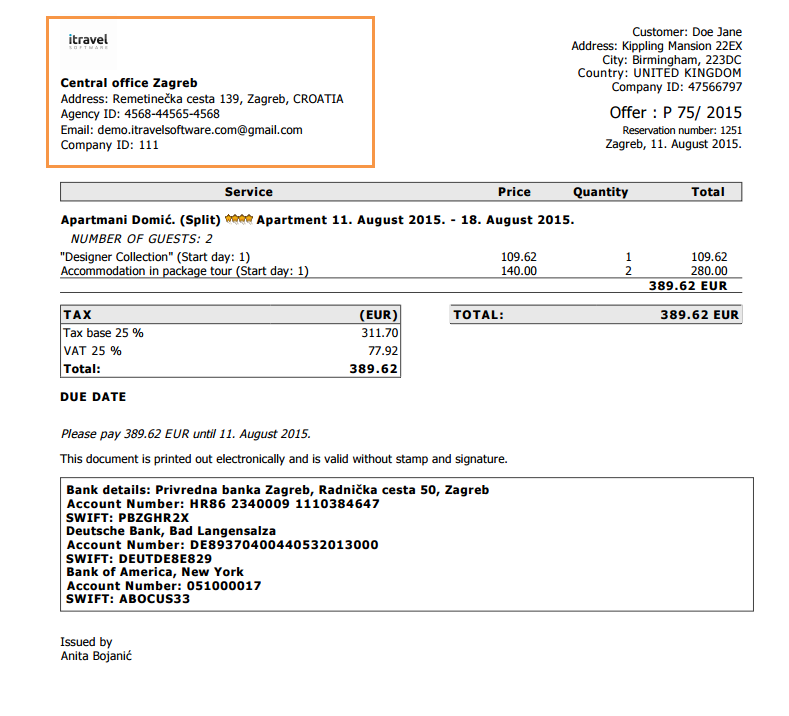
When clicking the preview button, we will get the Offer that shows information taken from the Branch office that we have previously set up.
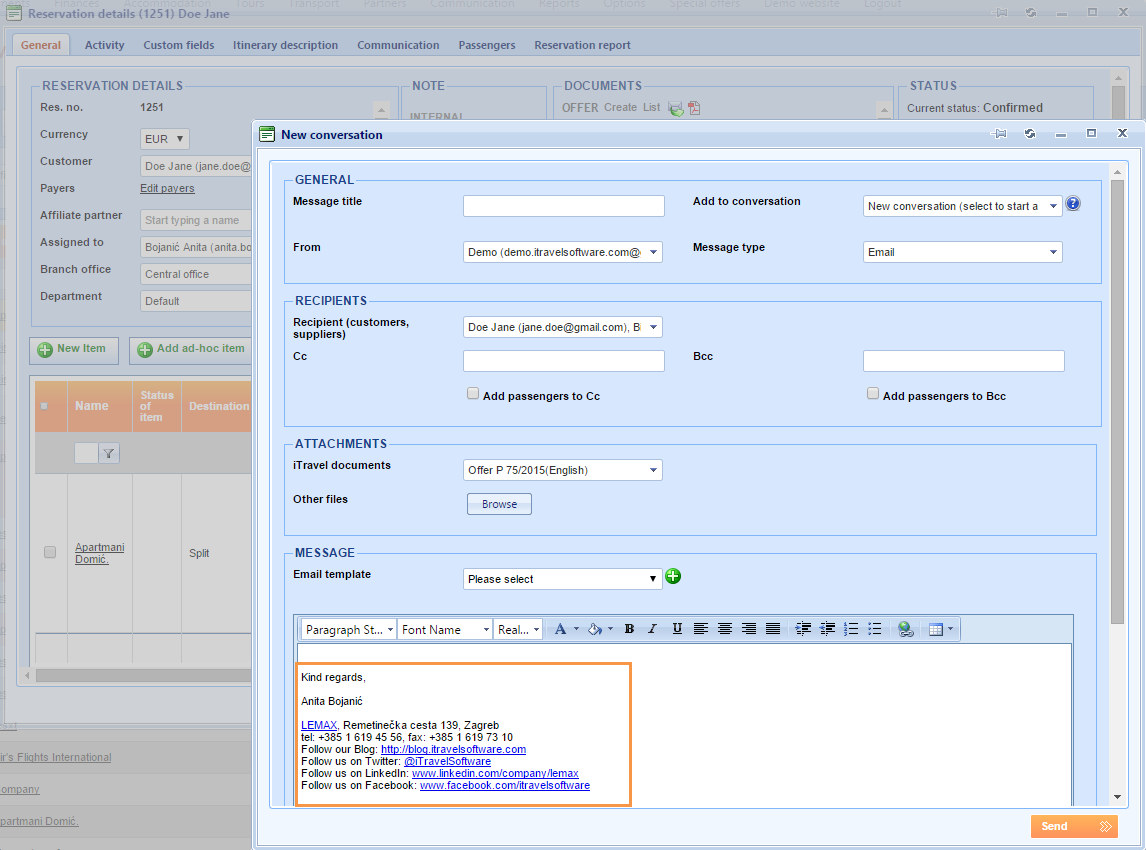
Another thing we can do to see the new options is to send an email. Let us click on the Send button next to the document. What we see here is the sender’s email (the one that we added into the Email box of a branch office) and a signature (entered into the Signature text box on the branch office).