Use this guide to understand how to add a new Rent a car unit in the database. Learn how to add price list schedule and define prices.
Entering general information
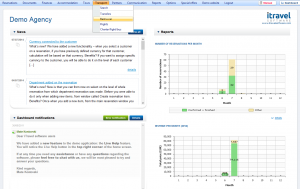
To add a new transfer, choose Transport → Rent a car from the main menu.
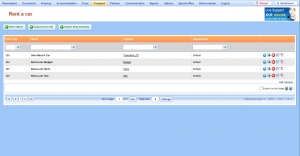
The Rent a car grid has opened, where you can find every rent a car unit which is loaded in the system. To add a new rent a cat, choose ![]() button.
button.
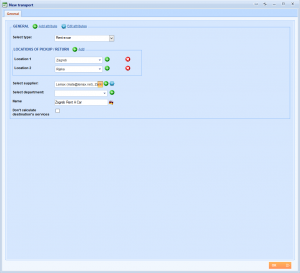
The New transport window has opened. Use this window to add general information about the unit you are creating. First, fill in all necessary data.
Enter the type of the unit by choosing Rent-a-car in the Select type drop down list.
Under Locations of pick up and return you can enter every location where this rent a car company has its shop and where you can pick up and drop off the car. Select a location by choosing existing one from the drop down list or add a new location with the ![]() Plus icon. (See: How to enter destinations)
Plus icon. (See: How to enter destinations)
Choose the existing supplier by typing a name (e.g. Lemax) or add a new one with the ![]() Plus .
Plus .
Click to enter a rent a car.
Rent a car has been added to your database. Additional tabs have appeared in the rent a car editing window. Use these tabs to:
- Define price lists
- View the reservation statuses
- Create supplier confirmations (individual or group)
- Define descriptions, itineraries, photo galleries
- Add rent a car to categories
- Define SEO rules
- Define capacities and availability
Defining a new price list schedule
Price list schedule is used to have different prices in different date periods. Price list schedules are different for each rent a car. Date periods inside price list schedules can be grouped by price so you don’t need to enter the same price more than once.
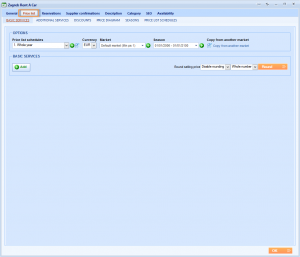
To add a new price list schedule, continue with choosing Price list tab after defining general information. If you have exited Rent a car window you can enter it with from the grid with double click in a row or click the ![]() .
.
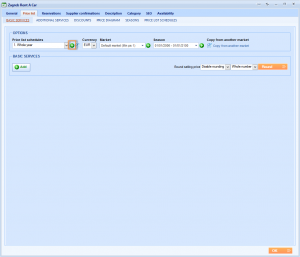
In the Options field find the Price list schedule drop down list and click the ![]() next to it to add a new period.
next to it to add a new period.
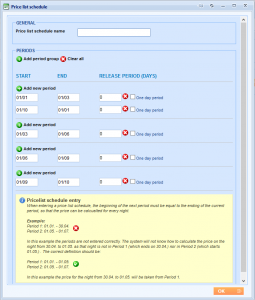
The New price list schedule window will appear.
NOTE: There are already 4 period groups defined by default. One of the groups contains 2 periods, so there are total 5 periods predefined. Number of periods and period groups can be changed.
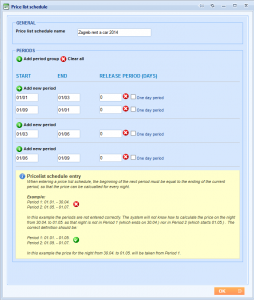
Enter the Price list schedule name.
HINT: It is good to put year in the name, for example: “Zagreb Rent A Car 2014” so that you can easily find it later.
In the Price list schedule window you can enter a new period group by clicking ![]() , add a new period inside a period group by clicking the
, add a new period inside a period group by clicking the ![]() (to group periods with the same prices), delete a period by clicking
(to group periods with the same prices), delete a period by clicking ![]() Enter the Start and End dates of the periods.
Enter the Start and End dates of the periods.
NOTE: Start and end dates have no year. They apply to the current season.
Enter the Release period (days before travel when the reservation needs to be created in this period if you are using it for rent a car. If not, leave it empty.)
Click OK button to save changes.
NOTE: The first day of the period is included in the period and the last day is not. For example, if the period is from 7.10 till 15.11 the price on 7.10 will be calculated from that period and on 15.11 you will get price from another period.
Do not leave days of the year not covered with periods, unless you need to. For example, if you receive price list from your supplier that has 2 periods (from 7.10 till 15.11 and from 16.11 till 24.12) enter it in Lemax as 2 periods from 7.10 till 16.11 and second as 16.11 till 25.12).
If you do not do so and enter dates as you got from supplier, nights on 15.11 and 24.12 will be left with no price at all.
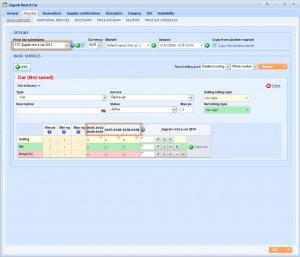
To apply newly created schedule, choose it in the Price list schedule drop down list. You will see the applied schedule as periods for basic service prices entering.
Defining the basic services price list
Continue with rent a car uploading with defining basic services for the rent a car units by entering prices in the newly created price list schedule. If you have exited Rent a car window you can enter it with from the grid with double click in a row or click the ![]() and choosing the Price list tab.
and choosing the Price list tab.
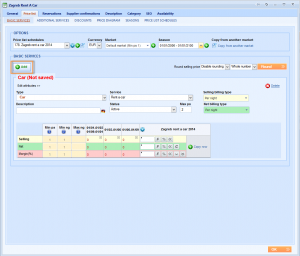
In the Options field select a Price list schedule from a drop down list or enter a new one by clicking the ![]() Plus icon next to the drop down list. To add an transfer unit, click the
Plus icon next to the drop down list. To add an transfer unit, click the ![]() Add .
Add .
The type of the unit in the Type drop down list is Car.
Possible basic service from the Service drop down list is Rent-a-car.
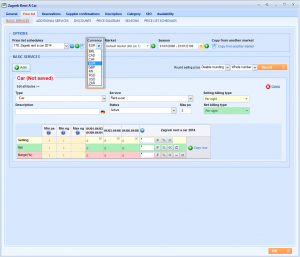
Select Currency from the Currency drop down list.
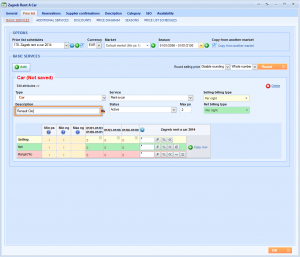
Enter unit description in the Description text area.
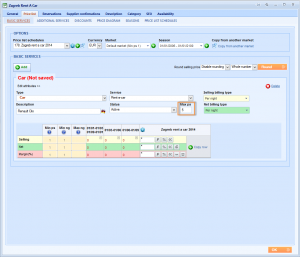
Define how many people can be in one reservation for this car in the Max ps text area.
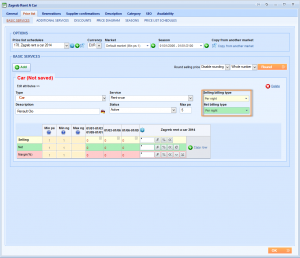
Select Selling billing type and Net billing type depending on the way you want to calculate prices you will put in the table. Choose Per night for this example.
Note: Rent a car has three specific billing types. To find explanation of these types take a look at Rent a car price list section in our Manual.
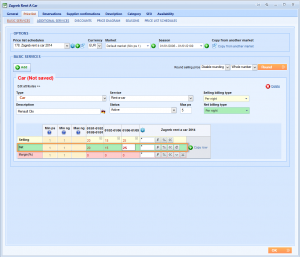
Locate the Net price list line and enter net prices for each period.
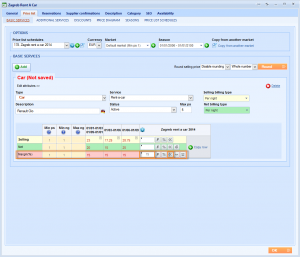
Locate the Margin line and enter margin as percentage for each period to get selling prices (or enter selling prices manually).
Click OK button to save changes.
If you want to find out more about related actions to the Entering Rent a car, use our Manual by following this links:
How to create a reservation
Description
Availability
Additional services
Discounts
Add accommodation, transfer, tour or a charter flight/bus to a category

