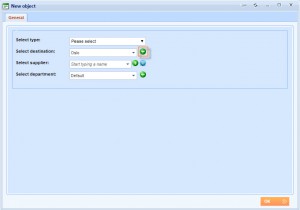
This guide will help you to organize entry of all places in the system. There are two ways of doing this process and we will suggest you the most effective one. You can add places while creating a product. For example, when adding accommodation, tour, activity, or transport you need to click ![]() button to add a new place. This works the same way everywhere in the system where you have Destination drop-down list and
button to add a new place. This works the same way everywhere in the system where you have Destination drop-down list and ![]() button.
button.
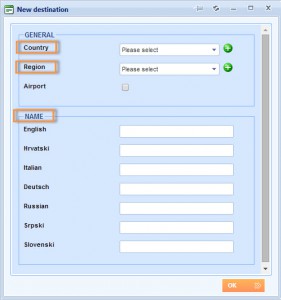
When you want to add places this way, new window will appear and you can add places by clicking the ![]() button near each place level.
button near each place level.
You can also add places using the destination tree. This is the best option to start with.
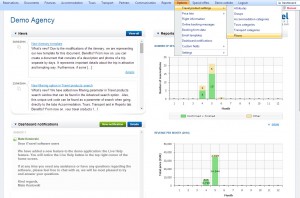
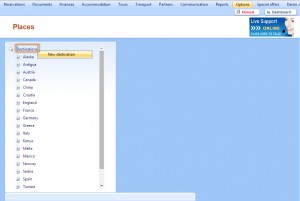
Click Options → Travel product settings → Places.
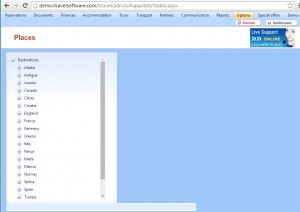
The Destination tree will be displayed on the left side.
In our system places are divided on three levels:
1. Country
2. Region
3. Destination→ The products are connected with third level.
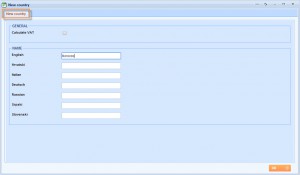
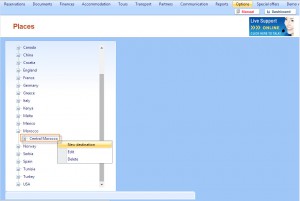
To add country you need to right click on the Destinations tree root node and click new destination to add a Country.
Enter country name in all languages you need.
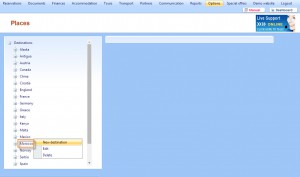
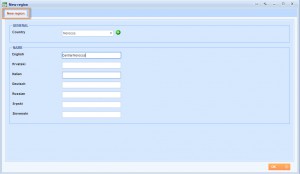
Right click on the Country name and click the New destination to add a Region.
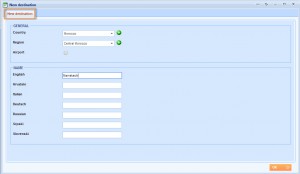
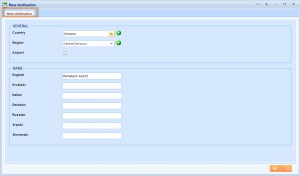
The new window will appear. Enter name of the region.
Click “– “on the Country to see all the regions and then right click on a Region and click New destination to add new destination. The new destination window will appear.
The new destination window will appear. Enter name of the destination.
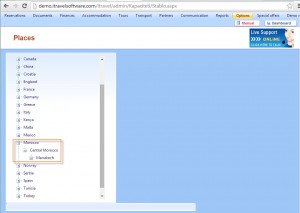
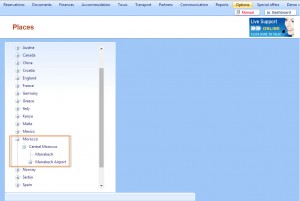
This is how your Destination tree will look like:
You can have more regions and places under the same country. Also, you can add Marrakech Airport, Marrakech hotel and similar as a place in the system.
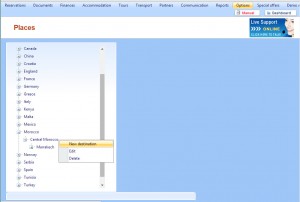
Click “–” on the Region to add new destination.
The new destination window will appear. Enter the name of new destination.
This is how your destination tree would look like:

